Mountain Bike
Basic Setup
From your saddle height to sag settings, the setup of your mountain bike can make or break your rides, with the correct setup delivering speed, comfort and fun in equal measure. Whether setting up your bike fresh out of the box or tuning your current steed, this guide aims to arm you with the knowledge to personalise your ride and reap the benefits on the trail.
While setting up your bike is simple, it pays to have the correct tools. A torque wrench is a must-have for dialling in your settings at home, reducing the risk of damaging components and voiding your warranty, and using a quality floor and shock pump with gauge guarantees accurate pressures. If in doubt, always contact a qualified mechanic for advice.
Tyre Pressure
As the only point of contact between your bike and the ground, having suitable air pressure in your tyres is crucial. The correct pressure will offer ground-hugging traction on rough terrain, enhance your rolling speed and reduce the risk of ride-stalling punctures, yet is a setting often overlooked by those new to cycling. Unfortunately, there is no golden number for the perfect pressure, with variables such as rider weight, ride style and tyre choice all factoring in when selecting the best PSI for you.

The lower the pressure, the higher the grip. Reduced pressures allow the tyre to conform to the trail, promoting traction at the risk of pinch punctures and less stability through the corners. Conversely, higher pressures reduce rolling resistance and offer improved support at the cost of losing grip on rough terrain.
The happy medium lies somewhere in between, so it pays to hit the trails and experiment. When riding in poor weather conditions, it can be beneficial to run lower tyre pressures, as the increase in traction helps add grip over loose, wet ground.
Saddle Adjustment
For riders looking to earn their turns, having the appropriate saddle height boosts efficiency on the climbs and flats. A saddle that is too high or low can wreak havoc on the body, potentially causing injury on top of impacting your power output. For a baseline setting, find a wall to lean against and place your heel on the pedal in the six o’clock position. Edge your saddle height up and down until your leg is completely straight, and ensure your saddle is horizontal or slightly dipped at the nose, depending on your preference. If in doubt, saddle angle can be easily checked with a spirit level or mobile app, taking out the guesswork for total precision.
Arguably one of the most beneficial technologies of recent years, dropper seatposts increase your standover clearance at the flick of a switch, improving manoeuvrability over the bike for technical descending. To correctly size a dropper post, you should set your saddle height at full extension. This allows the seatpost to return to your ideal climbing position, offering the most amount of usable drop.

Suspension Setup
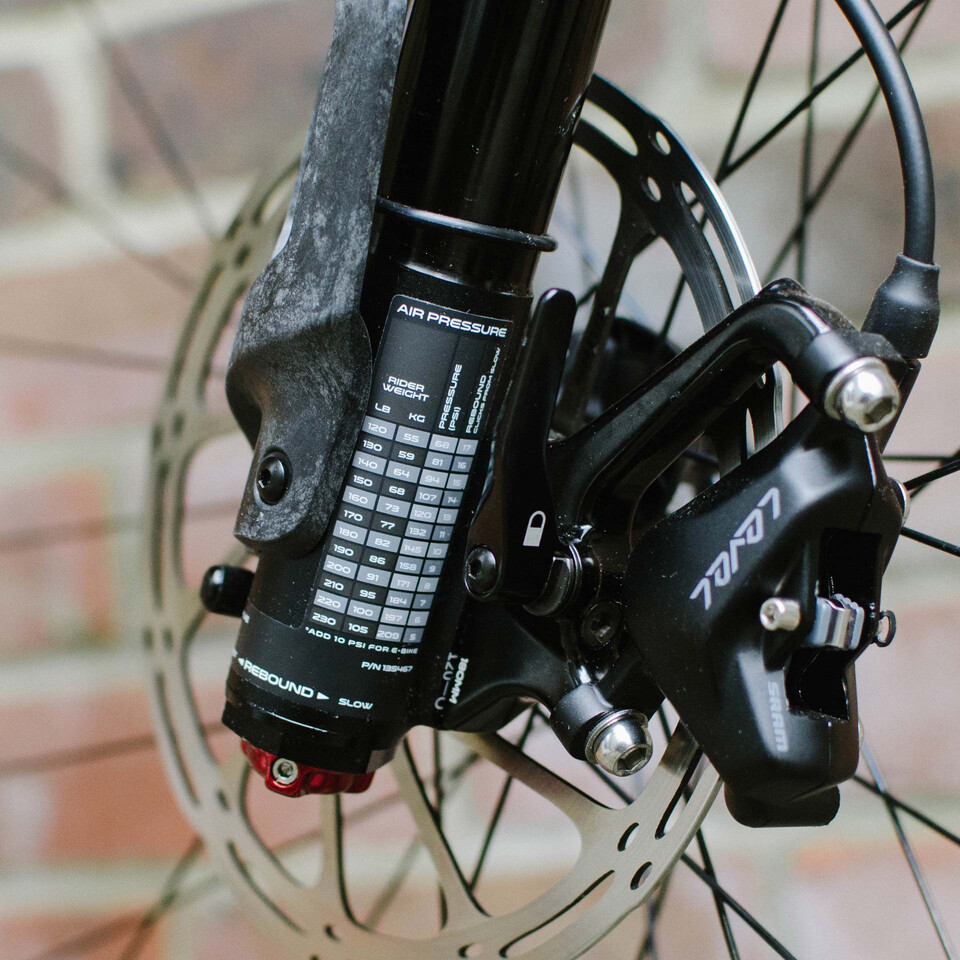
Whether your preference is for a full-suspension or hardtail mountain bike, suspension setup can make a huge difference when it comes to ride quality. The correct setup can make your bike feel like a magic carpet, but poor setup sees even the highest-end models falling flat, compromising comfort, grip and confidence on the trail. To set yourself up for success, follow the manufacturer recommendations and work from there.
Often a pressure guide can be found on the fork leg, and many brands will have an online suspension calculator.
Unique to every rider weight and ride-style, there is no cookie-cutter setting for sag, compression and rebound. Experimenting to find what works for you will yield the best results, so grab your shock pump and a notepad and hit the trails!
Handlebar/Stack Height
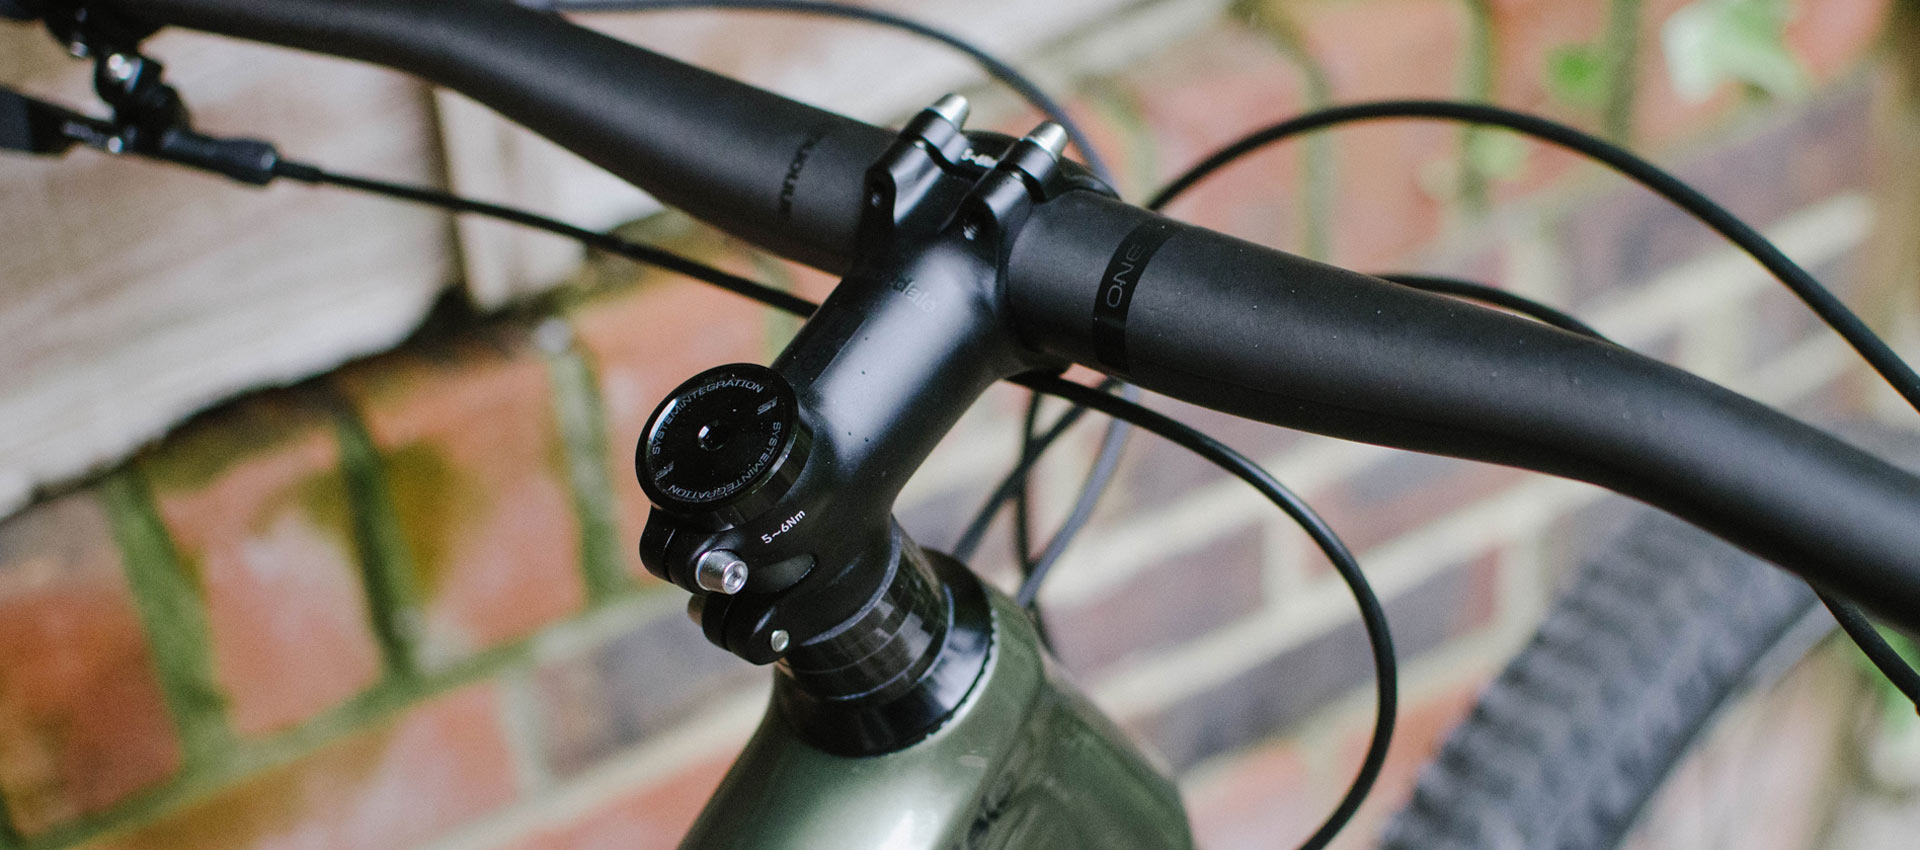
Directly linked with front-end traction, stack height is another setting that heavily impacts the ride character of a bike. A lower front end centres your weight further over the tyre, leading to direct and precise traction through the corners. On the flip side of this, a higher front end improves control when descending steep terrain and can enhance comfort. This setting can be adjusted by either equipping a high-rise handlebar or by adding spacers below the stem if the steerer tube is long enough. It is worth noting that the latter will reduce the reach measurement of the frame, which can affect stability.
Control Positioning
How the controls come adjusted out of the factory may not be ideal for all riders. Personalising the positioning of your brakes, shifter and dropper lever can boost comfort, making for a more ergonomic setup tailored to your needs. Modern hydraulic disc brakes are designed to be operated with a single finger and should be set up as such, with the hook of the lever sitting where your index finger lies.
Lever angle affects your positioning on the bike - steeper levers push your weight forwards, whilst shallower angles encourage your weight off the back of the bike. Typically in the UK, the rear brake is found on the left hand side of the handlebar and front on the right, but it can be the case that this is reversed when abroad.
Brake Reach and Bite Point Adjustment
A polarising topic for many riders, lever position is just as personal as saddle height, with cyclist’s hands coming in all different shapes and sizes. Featured on almost all mountain bike brakes, reach adjustment allows the distance between the handlebar and lever blade to be tuned to your liking, ensuring good contact for powerful, confident braking. Bite point adjustment is found on high-end brakes and allows the amount of lever throw before the bite to be customised.
Although many riders enjoy the light switch feel of a near-instant bite point, it can be beneficial to have your brakes engage closer to the grips. The amount of power that a closed grip can impart is higher than that of an open grip, amplifying the forces applied to the lever. On long, alpine-style descents, reducing reach and keeping the bite point close to the bar can reduce the effects of fatigue, or “arm pump”, improving your control through technical terrain.

Flip chip/Geometry Adjustments
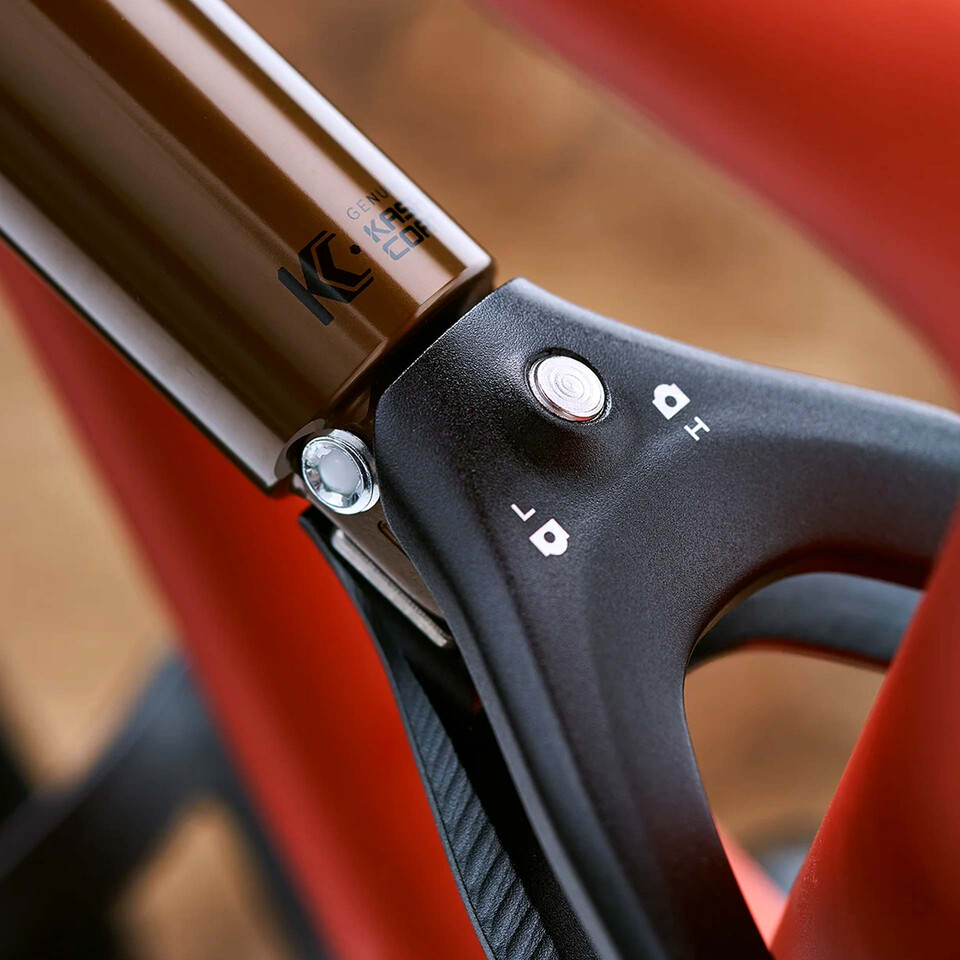
In the quest for versatility, many frame manufacturers allow riders to adjust their bikes geometry, typically through use of a “flip-chip”. Usually found on the shock mount or chainstay, these simple, reversible mounts adjust the head angle and bottom bracket drop numbers, impacting the climbing or descending characteristics of the bike. Some models that use this adjustment offer compatibility with multiple wheel sizes, allowing the user to switch between 29”, 27.5” and mixed wheel setups.
What to Avoid When Setting up Your Mountain Bike?
Although modern mountain bikes may seem complicated, correctly setting up your bike is a task that anyone can achieve with the right tools. To get the most out of your ride, it pays to look out for these common pitfalls.
Too much pressure in your tyres: With the differences in pressure varying wildly between cycling disciplines, it can be easy to run your tyres at too high PSI. For modern, high-volume MTB tyres, anywhere between 20-30 PSI is the ballpark figure, with anything over this having a dramatic impact on grip over loose terrain.
Overtightening components: Bolt heads are fragile, and many smaller parts require very little force to tighten correctly. A torque wrench provides the accuracy needed to prevent damage to your components, making it a must-have for any home mechanic.
Using a saddlebag with a dropper seatpost: Although useful for storing your on-trail essentials, most saddlebags are not compatible with a dropper post and risk damaging the slick stanchion coating.
Pulling the brake lever without the wheel in place: A classic mistake for those with hydraulic disc brakes, pulling the lever without the rotor in situ causes the pistons to engage and pinch together. To remedy this, gently pry the pads apart with a flat, plastic tool, resetting the pistons back into the caliper.

Leaving your derailleur clutch turned off: If your mountain bike is equipped with a 1x drivetrain setup, it is more than likely that your derailleur features a clutch system. On Shimano drivetrains this feature is turned on/off via a switch and should always be engaged when looking to ride off-road.
Leaving your lockout engaged: For adding efficiency to your climbing, the lockout switch on your suspension reduces wasted energy for fast, responsive pedalling. However, this can quickly turn sour once the gradient switches, with it being all too easy to leave your lockout engaged for the descents.
Correctly setting up your mountain bike is crucial, impacting comfort, performance and safety. The payoff of spending the time to set your bike up to your liking is immeasurable and can quickly take you from zero to hero on your local trails.
Are you looking to make changes to your setup? Our extensive range of tools and maintenance products are here to help you to dial in your ride.


