Njinga Cycling's Climbing and Descending Guide
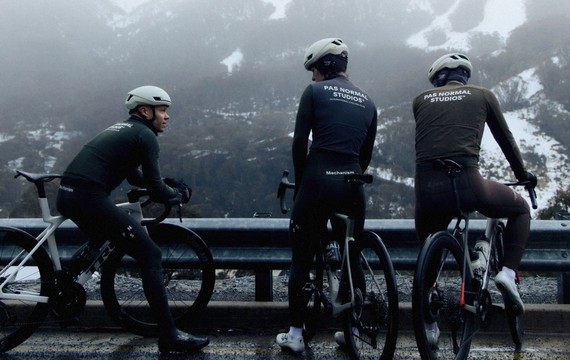
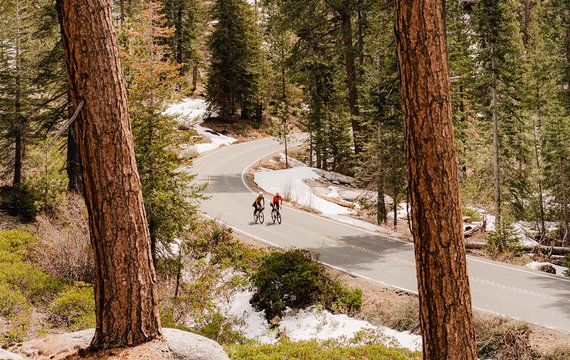
The hills around your home or the mountain passes of the French Alps, if you ride a bike you will probably encounter a climb every now and then. Whether it's ascending comfortably or navigating down safely, climbing and descending are two key skills every cyclist should have in their arsenal. We joined forces with our official training partner, Njinga Cycling, and headed out to the French Alps to construct the ultimate climbing and descending guide.
Pre ride
Planning your route
Before setting off on your ride, create a ride route profile - we'd recommend using software such as Strava. Creating this route will give you a good understanding as to the gradient of the climbs, what challenges lay ahead, whether that be small roads, poor surfaces or potentially technical descents.
Bike Fit
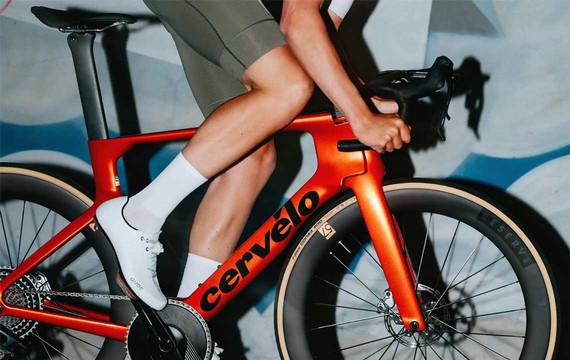
Your position on the bike is critical to ensure you are comfortable and optimising your power output. It’s easy to get away with not doing this on a small climb, for example in the Surrey Hills, but you will be punished on a long alpine climb. The body will be using different muscles on longer climbs, with your arms playing a key role in keeping you stable on the bike, whether that is in or out of the saddle. A poorly fitted bike can also make handling difficult especially when descending, so ensuring your weight is balanced is a must.
Checking Your Bike
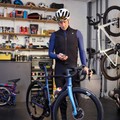
This should be a given before any ride, whether it is up a mountain or down a fast descent. Ensuring your bike is operating correctly is key to both an enjoyable and safe ride. Basic checks should include the following:
- Tyre pressure - You want your tyres inflated to around 80 - 120psi, dependent on your weight and the weather conditions. If it is raining and the roads are wet we would recommend running the pressure a little lower to improve grip.
- Check for cuts and flints - A simple spin of each wheel and check for any cuts or road debris that could be lodged in your tyres is a must. Even if the tyre is still inflated, that foreign object could become further embedded as you ride, causing you to puncture.
- Check your brakes - Ensure the brake pads are not overly worn. Most pads come with a guide on them that clearly indicates when the pad is worn and needs replacing. Check that the brakes are operating correctly by pulling both brakes while wheeling the bike forward is a good test.
- Contact points - Making sure the key contact points are secure ahead of your ride is a must. Pushing down on the handlebars and standing in front of the bike, with the front wheel between your legs, and trying to turn the handlebar, will highlight if the handlebar or stem is loose. With your hand on the saddle's nose, try and rotate the seatpost. If it moves, tighten the clamp. This will prevent any nasty surprises when riding.
Clothing
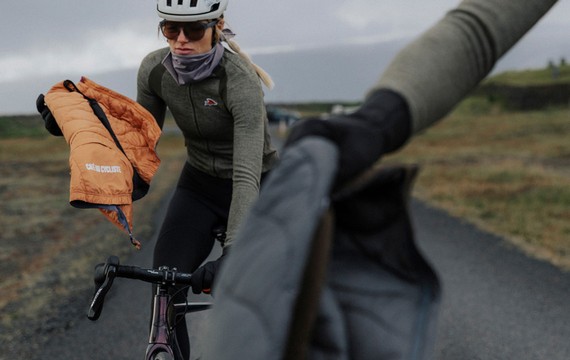
There is nothing worse than slowly becoming a sweaty mess as you climb or freezing as you speed down the other side. Choosing the correct clothing is key when your body temperature, altitude and conditions can change so drastically within a ride. We would recommend opting for layers, allowing you to strip off when the heat is on and have options for the descent when it's typically cooler. A high-quality gilet or rain jacket is perfect. At the very least a set of arm warmers and if cold gloves are both key additions to your clothing kit collection. Read our guide to dressing for the climbs.
Fuelling Strategy
We all need to manage our energy levels and fuel efficiency when we ride but particularly when out on a long and hilly ride. With that in mind, it’s important to know your route and fuel accordingly. Too often riders struggle on the hills not because of their riding abilities but, because they’ve got their fuelling strategy wrong. Find out how many climbs you have, and which are the longest and steepest. We recommend eating at least 20 minutes before you know you have a significant climb approaching. Use your bike computer or your ride route profile to know what’s coming up but more importantly know that you’ve packed enough fuel at the start of your ride.
Top Tip: Have energy bar wrappers etc. open prior to the ride so that you don’t have to worry about trying to open them whilst riding. We'd also recommend eating food that does not require much chewing - Energy gels and chews are great options as they are packed with fast acted carbohydrates and can be consumed easily.
Video is unable to play due to Privacy Settings.
Adjust your Cookie Preferences to Opt-in "YES" to "Functional Cookies".
Climbing by Bike
Be Smart, Pace Yourself
Climb for yourself not for others. Trying to keep up with your cycling companions is not a great strategy when it comes to the hills. Ride at an intensity that you can maintain for the majority of the climb or build up and finish on a sprint to crest the top. If you have multiple climbs on a route don’t expect to climb them all at the same pace. This is where it is wise to know what to expect on your route and plan how you’re going to ride it.
Power Meter
Using technology to help you gauge your effort can be invaluable. Heart rate is a good metric but is effected by factors such as heat, fatigue and it is a resulting metric rather than a real time accurate representation of your exertion. A much more accurate and useful tool is a power meter. Now more accessible and affordable than ever, power meters can come in the form of pedal, crank or even hub based units. It is very easy to hit the early slopes of a climb too hard, resulting in a drop in power and ultimately a slower ride. Using the power meter to ride slightly under your threshold and slowly increase the intensity, based on the length and severity of the ascent, will ensure you reach the summit in the best shape possible.
Breathing
Controlling your breathing when climbing will help you manage your heart rate and control your energy exertion on any ride. When training on climbs, practise breathing in for 4 and out for 4, it will help you with your rhythm on the bike. If you can control your breathing, then you can control everything else on the bike. It will allow you to forget the pain in your legs when things get tough.
Top Tip: Wear a heart rate monitor and track this as you ride. It’ll help you manage your levels of exertion and warn you when you’re going into the red.
Maintain a Good Cadence
Keep your cadence constant to avoid grinding the gears and wasting energy. Stay close to a 90 cadence on the hills, ‘spinners are winners’ in our book and think about your pedal technique - pushing the toes forward gives you more power. If you are going to push a bigger gear, we would recommend moving your weight back on the saddle to allow for more leverage.
In or Out of The Saddle?
Generally, just before summiting the crest of the mountain is a good place to get out of the saddle, then sit once you have crest the top and power on. For longer alpine climbs of over 5km then getting out of the saddle for short period will benefit the body and lengthen the muscles to avoid cramping or uncomfortable pain, etc. On a long climb take at least 10 seconds out of the saddle every so often to engage the legs in a different way to take away some of the pressure.
Top Tip: Your calves work 25-45% more when you’re out of the saddle so it is important that you focus on strengthening your calves in training for big climbs.
Hand Position
Generally, you want to be in a relaxed position without straining the back with your hands in the middle of your handlebars. We’d recommend that riders totally avoid using the drops during a climb. If the climb gets steep lean forward and hold the hoods to avoid the bike lifting.
Video is unable to play due to Privacy Settings.
Adjust your Cookie Preferences to Opt-in "YES" to "Functional Cookies".
Descending by Bike
What goes up must come down. It's all well and good climbing like a mountain goat but if you're taking the descent like a sloth on roller skates you are going to lose all the time you have made on the ascents. We take a look at how to descend like a pro, both safely and smoothly.
Position on the Bike
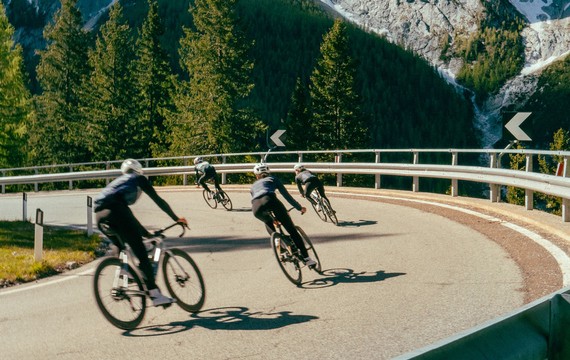
Where is your centre of gravity on the bike? When you are cornering you should be positioning your body into the corner, have your inside pedal up with your weight pushing down through the outside. Your feet should be level in the quarter to three position. As the descent increases, shift your weight backwards as far as you can on the seat, drop your chest down and drop your heels to give yourself more stability on the bike. Stay relaxed to avoid jolty movements on the bike.
Take the Correct Line
Always look at where you are going and don’t look down. Cut the apex of a corner to ride in as straight a line as you can – known as the ‘racing line’. Lean into the corners. As you become a stronger rider you’ll be able to use the drops with your fingers on the brakes. A great way to learn about this area is to ride with someone more experienced than you and follow their line. Practise mimicking their position on the bike by getting down low and potentially moving down onto your drops as you feel more confident. Always be careful to leave enough of a gap between you and the rider you are following particularly in poor weather.
Work on Braking Technique
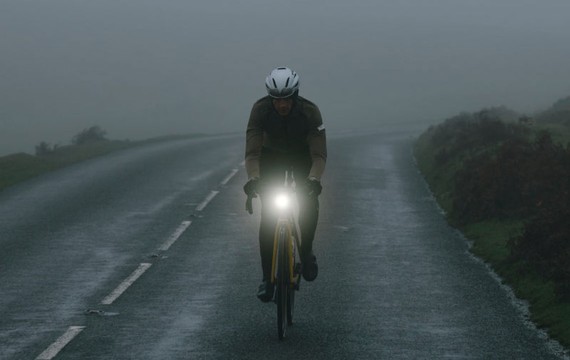
You should never be braking in the corner - break before the corner and ride through. On continuous downhill descents tether your brakes to avoid having to brake hard and avoid overheating your wheels. Brake with confidence and apply both the front and back brake evenly. The front brake is more dominant so use care on steep descents or slippery surfaces. Remember, reaction times will change for different outdoor conditions - be less aggressive when corning and descending in the wet.
Be Confident Not Foolish
Descending is where the most experienced of riders can fall foul. There is a thrill and buzz to going fast but sometimes it’s better to be safe than sorry. If you don’t know the descent very well then don’t push it, a little caution on the way down might cost you a few seconds on Strava but it might save you from a dangerous scenario.
Video is unable to play due to Privacy Settings.
Adjust your Cookie Preferences to Opt-in "YES" to "Functional Cookies".
Follow the above steps and make the most of those breathtaking climbs and flowing descents this season. Have you got any climbing or descending tips? If so, leave them in the comments section below.
Learn more about Njinga Cycling's 1:1 Outdoor Coaching Services? These services can be used by any level of rider to either improve or finesse their climbing and descending skills.